Repairing a ripped model of the barrel train, making it suitable for printing and painting it with acrylic paint!

So I really wanted to print out something from Mario Kart Double Dash for future meet-ups with the friends I made in that community. The first thing that came to mind was the vehicle everyone uses since it’s the fasted in the game: The Barrel train.

After finding NO models on all the various 3D modell collection sites, my friend Goomba got in contact with a people working on a sort of mod for the game. And one of those guys was kind enough to rip the model files from the game and send them my way. After converting them into usable files I needed to repair the obvious flaws, like unprintable details, missing wheels and missing connections.

Even though it was my first timing doing something like this it was fairly easy with Fusion 360. My first attempt was very easy to break on the small connections.

(Notice the already broken part on the front, as well as the problems with bridging of the handlebar)

Here with the thicker connections:


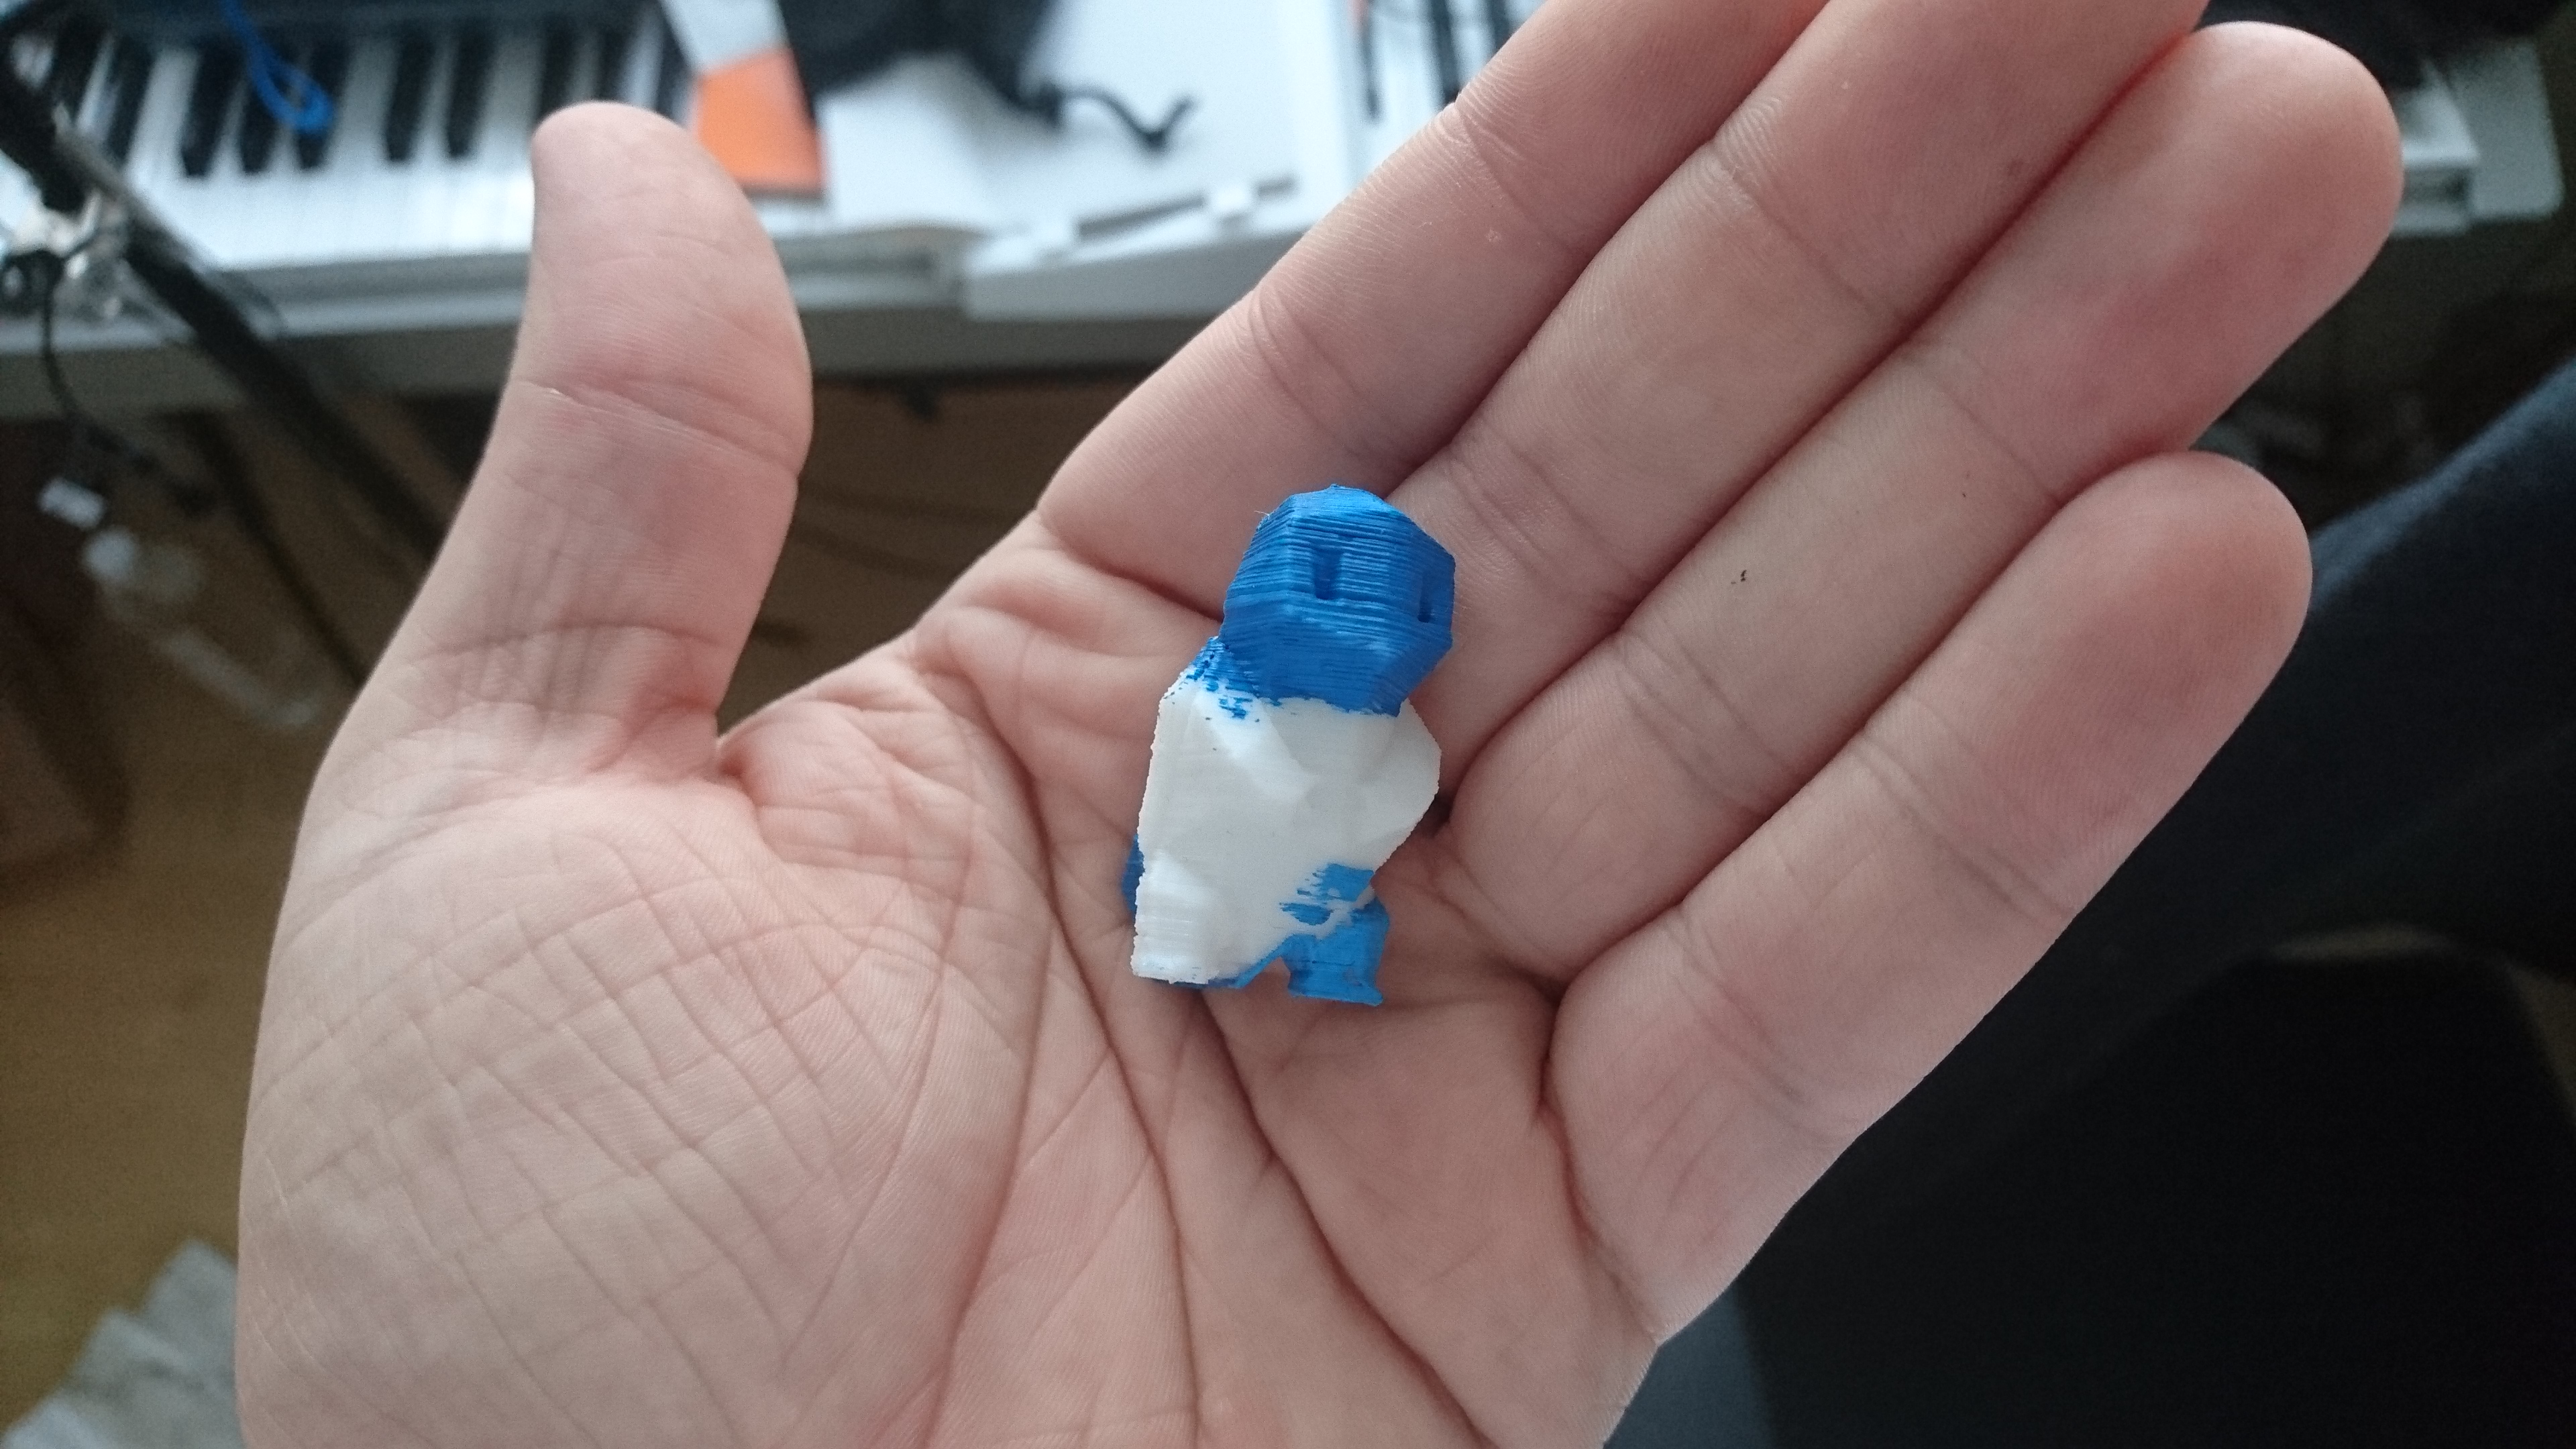
Now I were quite happy being able to print little barrel trains, but I wanted to see if I could paint it to resemble the real one more. So I lent some acrylic paint from my mother together with an assortment of brushes and gave it a shot. First I tried it on a low-poly squirtle model I printed in white PLA somewhen earlier.

Happy with the result with how well the color sticks to the plastic I thought I will see how bad the layers lines look on a completely painted model. I already knew about priming, sanding and other methods of finishing + painting prints, but I mainly wanted to see how it would look without all that effort. The painted Barrel Train was also printed in white PLA.


Pokéball print

I found a really nice model on Thingiverse that I wanted to give a go: A “functional” Pokeball – that actually opens! I loved the idea, so I tried it.

My main problem was getting the hinge insert and white button in the front precise enough. Like I already mentionend, without tinkering and completely upgrading several parts, it just doesn’t print precise enough for models like this.

After a lot of tweaking and trial & error, I finally managed to make it kinda work. I ended up printing the button a bit larger and trimming it down until it fitted, but I reached the infill since I didn’t make the walls thick enough for this.

Lessons learned…


Two print “orders” from a friend for his robots

After using my printer to improve my own robots, I quickly peaked the interest of a friend of mine that I know from the LetsRobot Community. He wanted to replace 4 wheels of one of his robots, as well as have a customized mount for his RasPi camera module + LED matrix. As Wheels he wanted to use the open source wheels provided by the LetsRobot team, so that was easy enough. Just download the .stl, tweak a few settings and let it print. Each wheel took a bit over 3 hours and quite a lot of material.

The camera bracket was quick to print, but we needed to design that first so it could fit his needs. Fortunately this wasn’t all too complicated and after finding specsheets for the two modules I could quickly model the bracket for his need.

My first print didn’t turn out too well, and I realized I needed to print it in another orientation. The camera module didn’t fit anyway since I didn’t give the model a big enough tolerance to compensate the quality of my printer. But already the second attempt worked out way better, so I printed the bracket three times (2x for his robots and 1x in case anything breaks) and included it in the shipment.

Cardbot V2 stabilization with 3D Printing!

Once I got my 3D Printer working and had it dialed in, I wanted to do this overdue upgrade. Over time the tape got loose over and over and the motors started sagging so hard, that the cardboard dragged on the ground. This was one of my first designs I created and printed.

These two prints made the bot usable again since it fixed the dragging body as well as stopped the Camera head from constantly falling down.