Two print “orders” from a friend for his robots

After using my printer to improve my own robots, I quickly peaked the interest of a friend of mine that I know from the LetsRobot Community. He wanted to replace 4 wheels of one of his robots, as well as have a customized mount for his RasPi camera module + LED matrix. As Wheels he wanted to use the open source wheels provided by the LetsRobot team, so that was easy enough. Just download the .stl, tweak a few settings and let it print. Each wheel took a bit over 3 hours and quite a lot of material.

The camera bracket was quick to print, but we needed to design that first so it could fit his needs. Fortunately this wasn’t all too complicated and after finding specsheets for the two modules I could quickly model the bracket for his need.

My first print didn’t turn out too well, and I realized I needed to print it in another orientation. The camera module didn’t fit anyway since I didn’t give the model a big enough tolerance to compensate the quality of my printer. But already the second attempt worked out way better, so I printed the bracket three times (2x for his robots and 1x in case anything breaks) and included it in the shipment.
Cardbot V2 stabilization with 3D Printing!

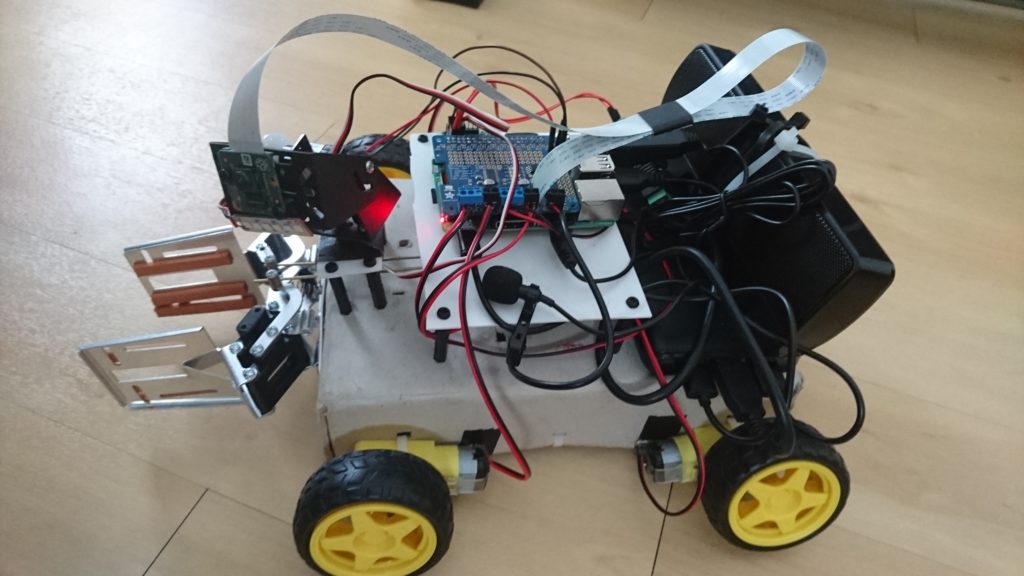
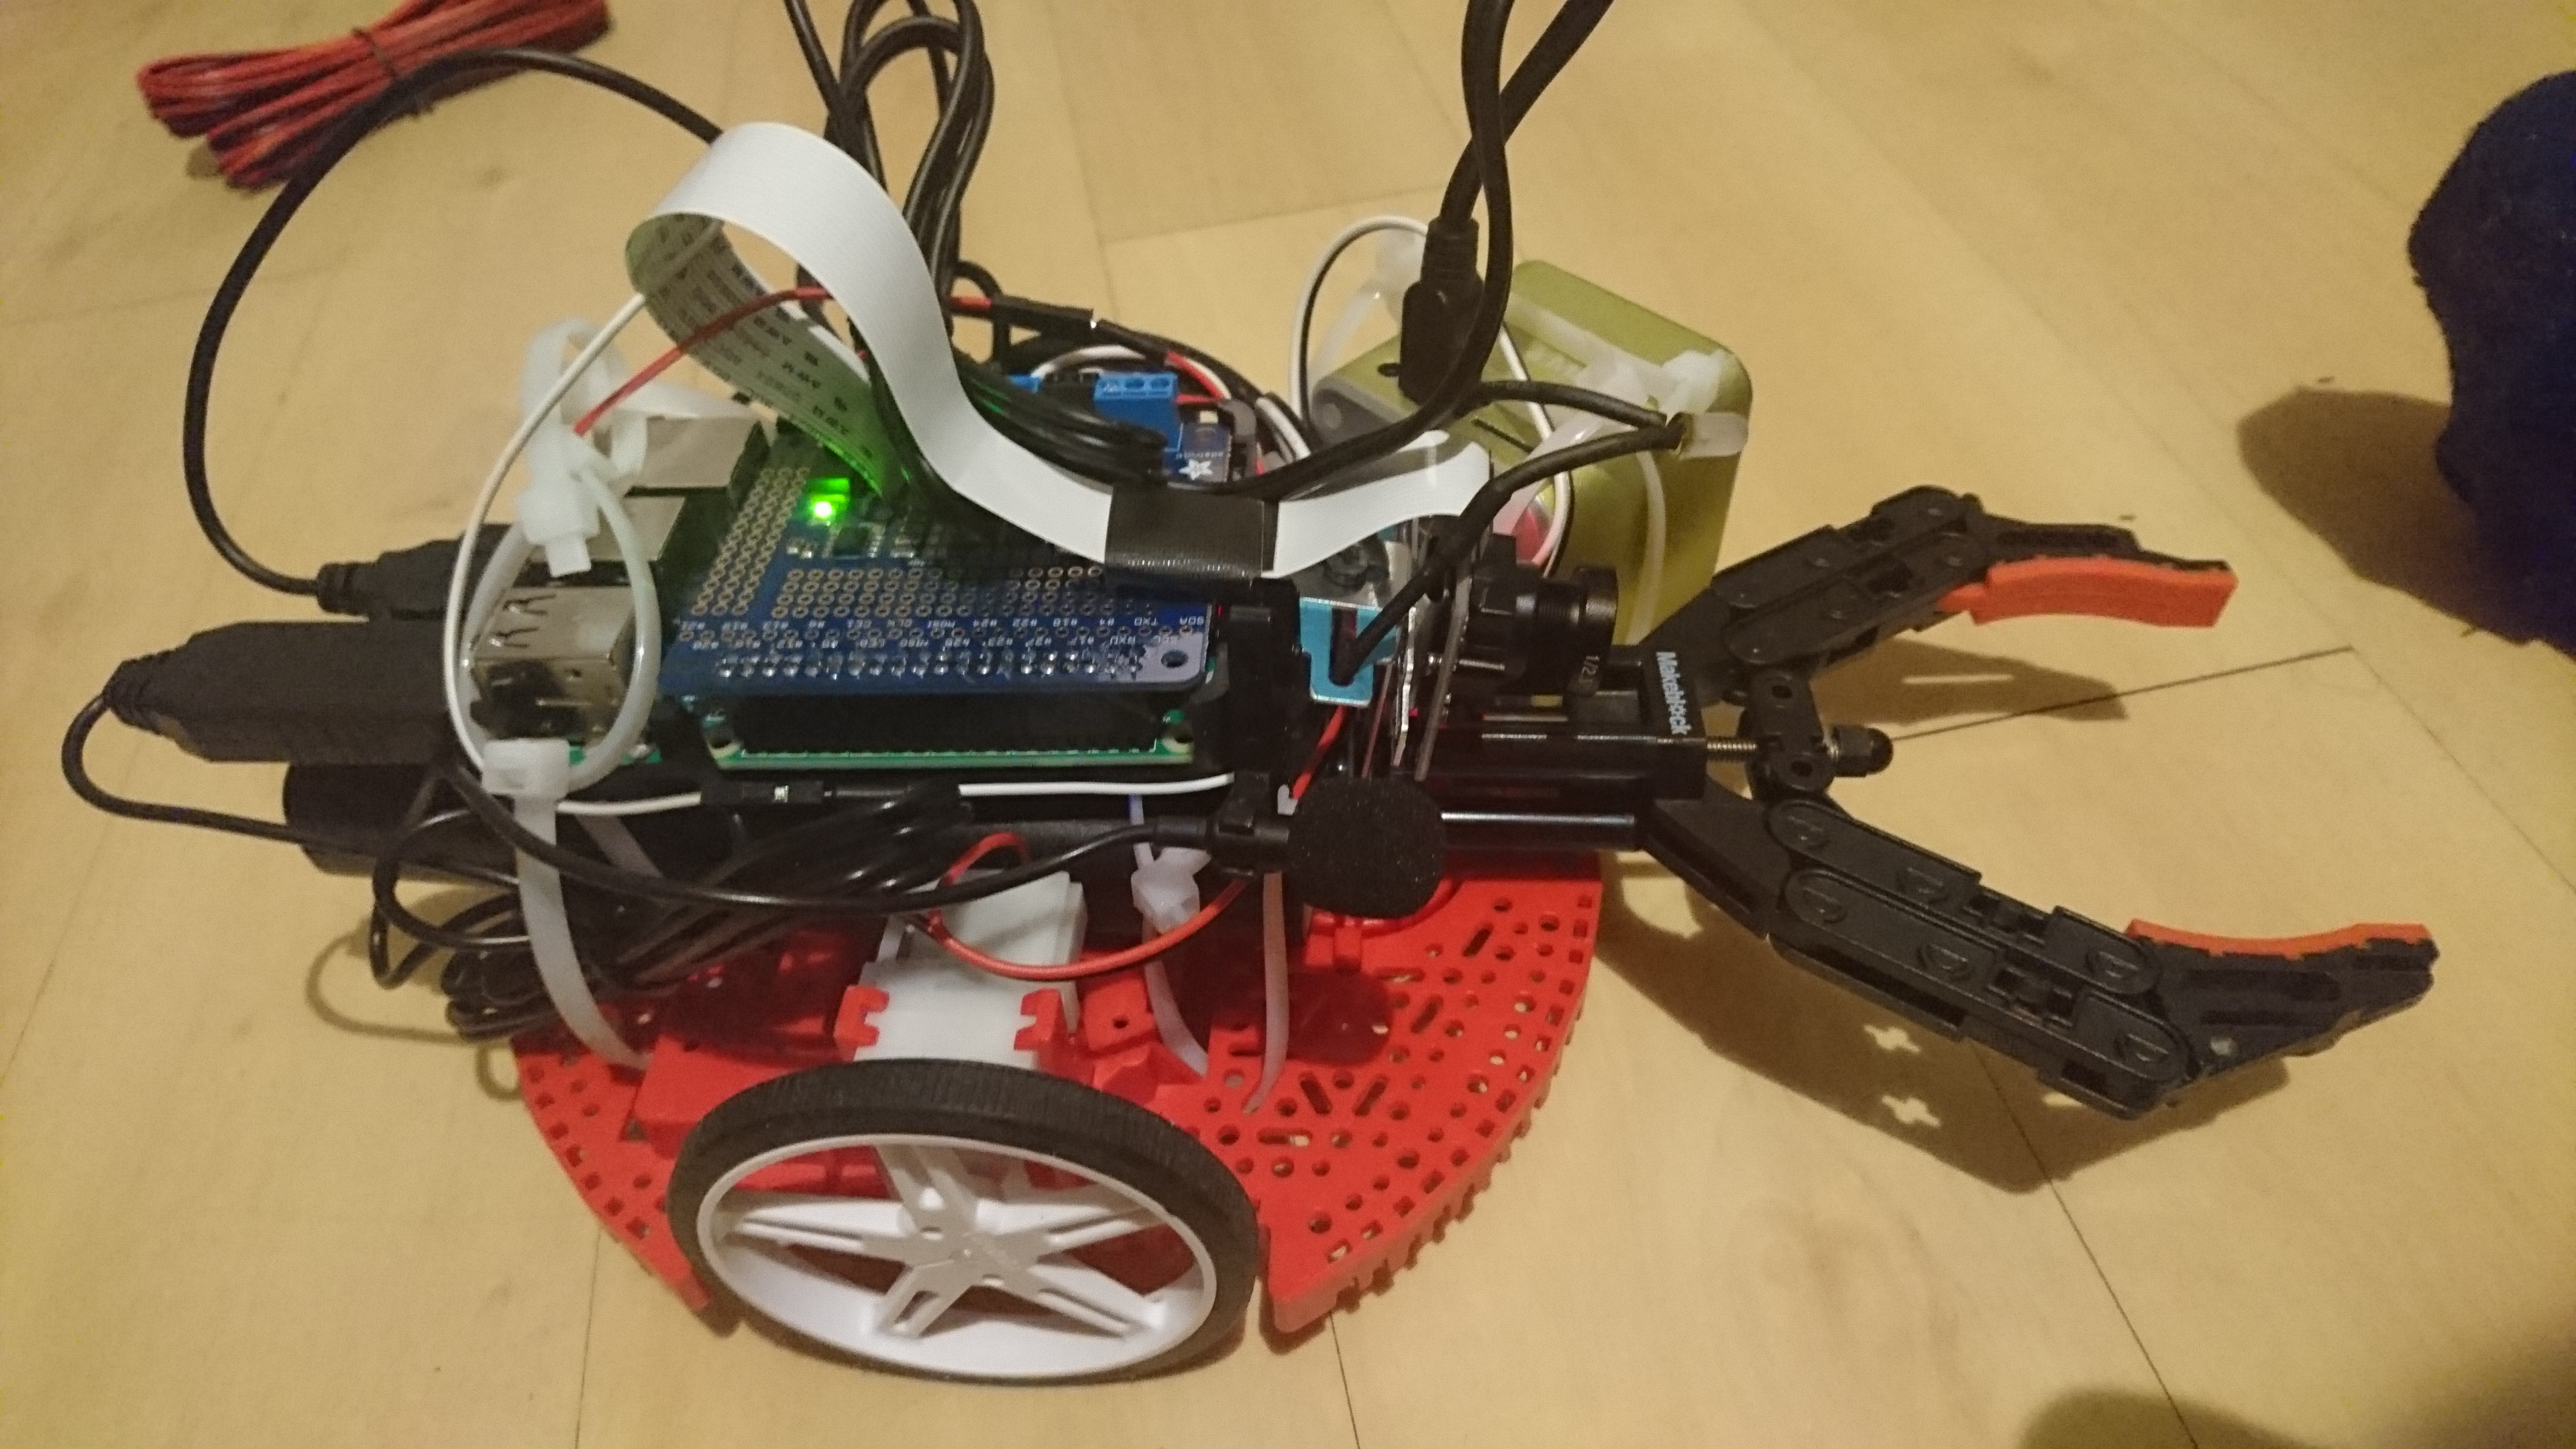
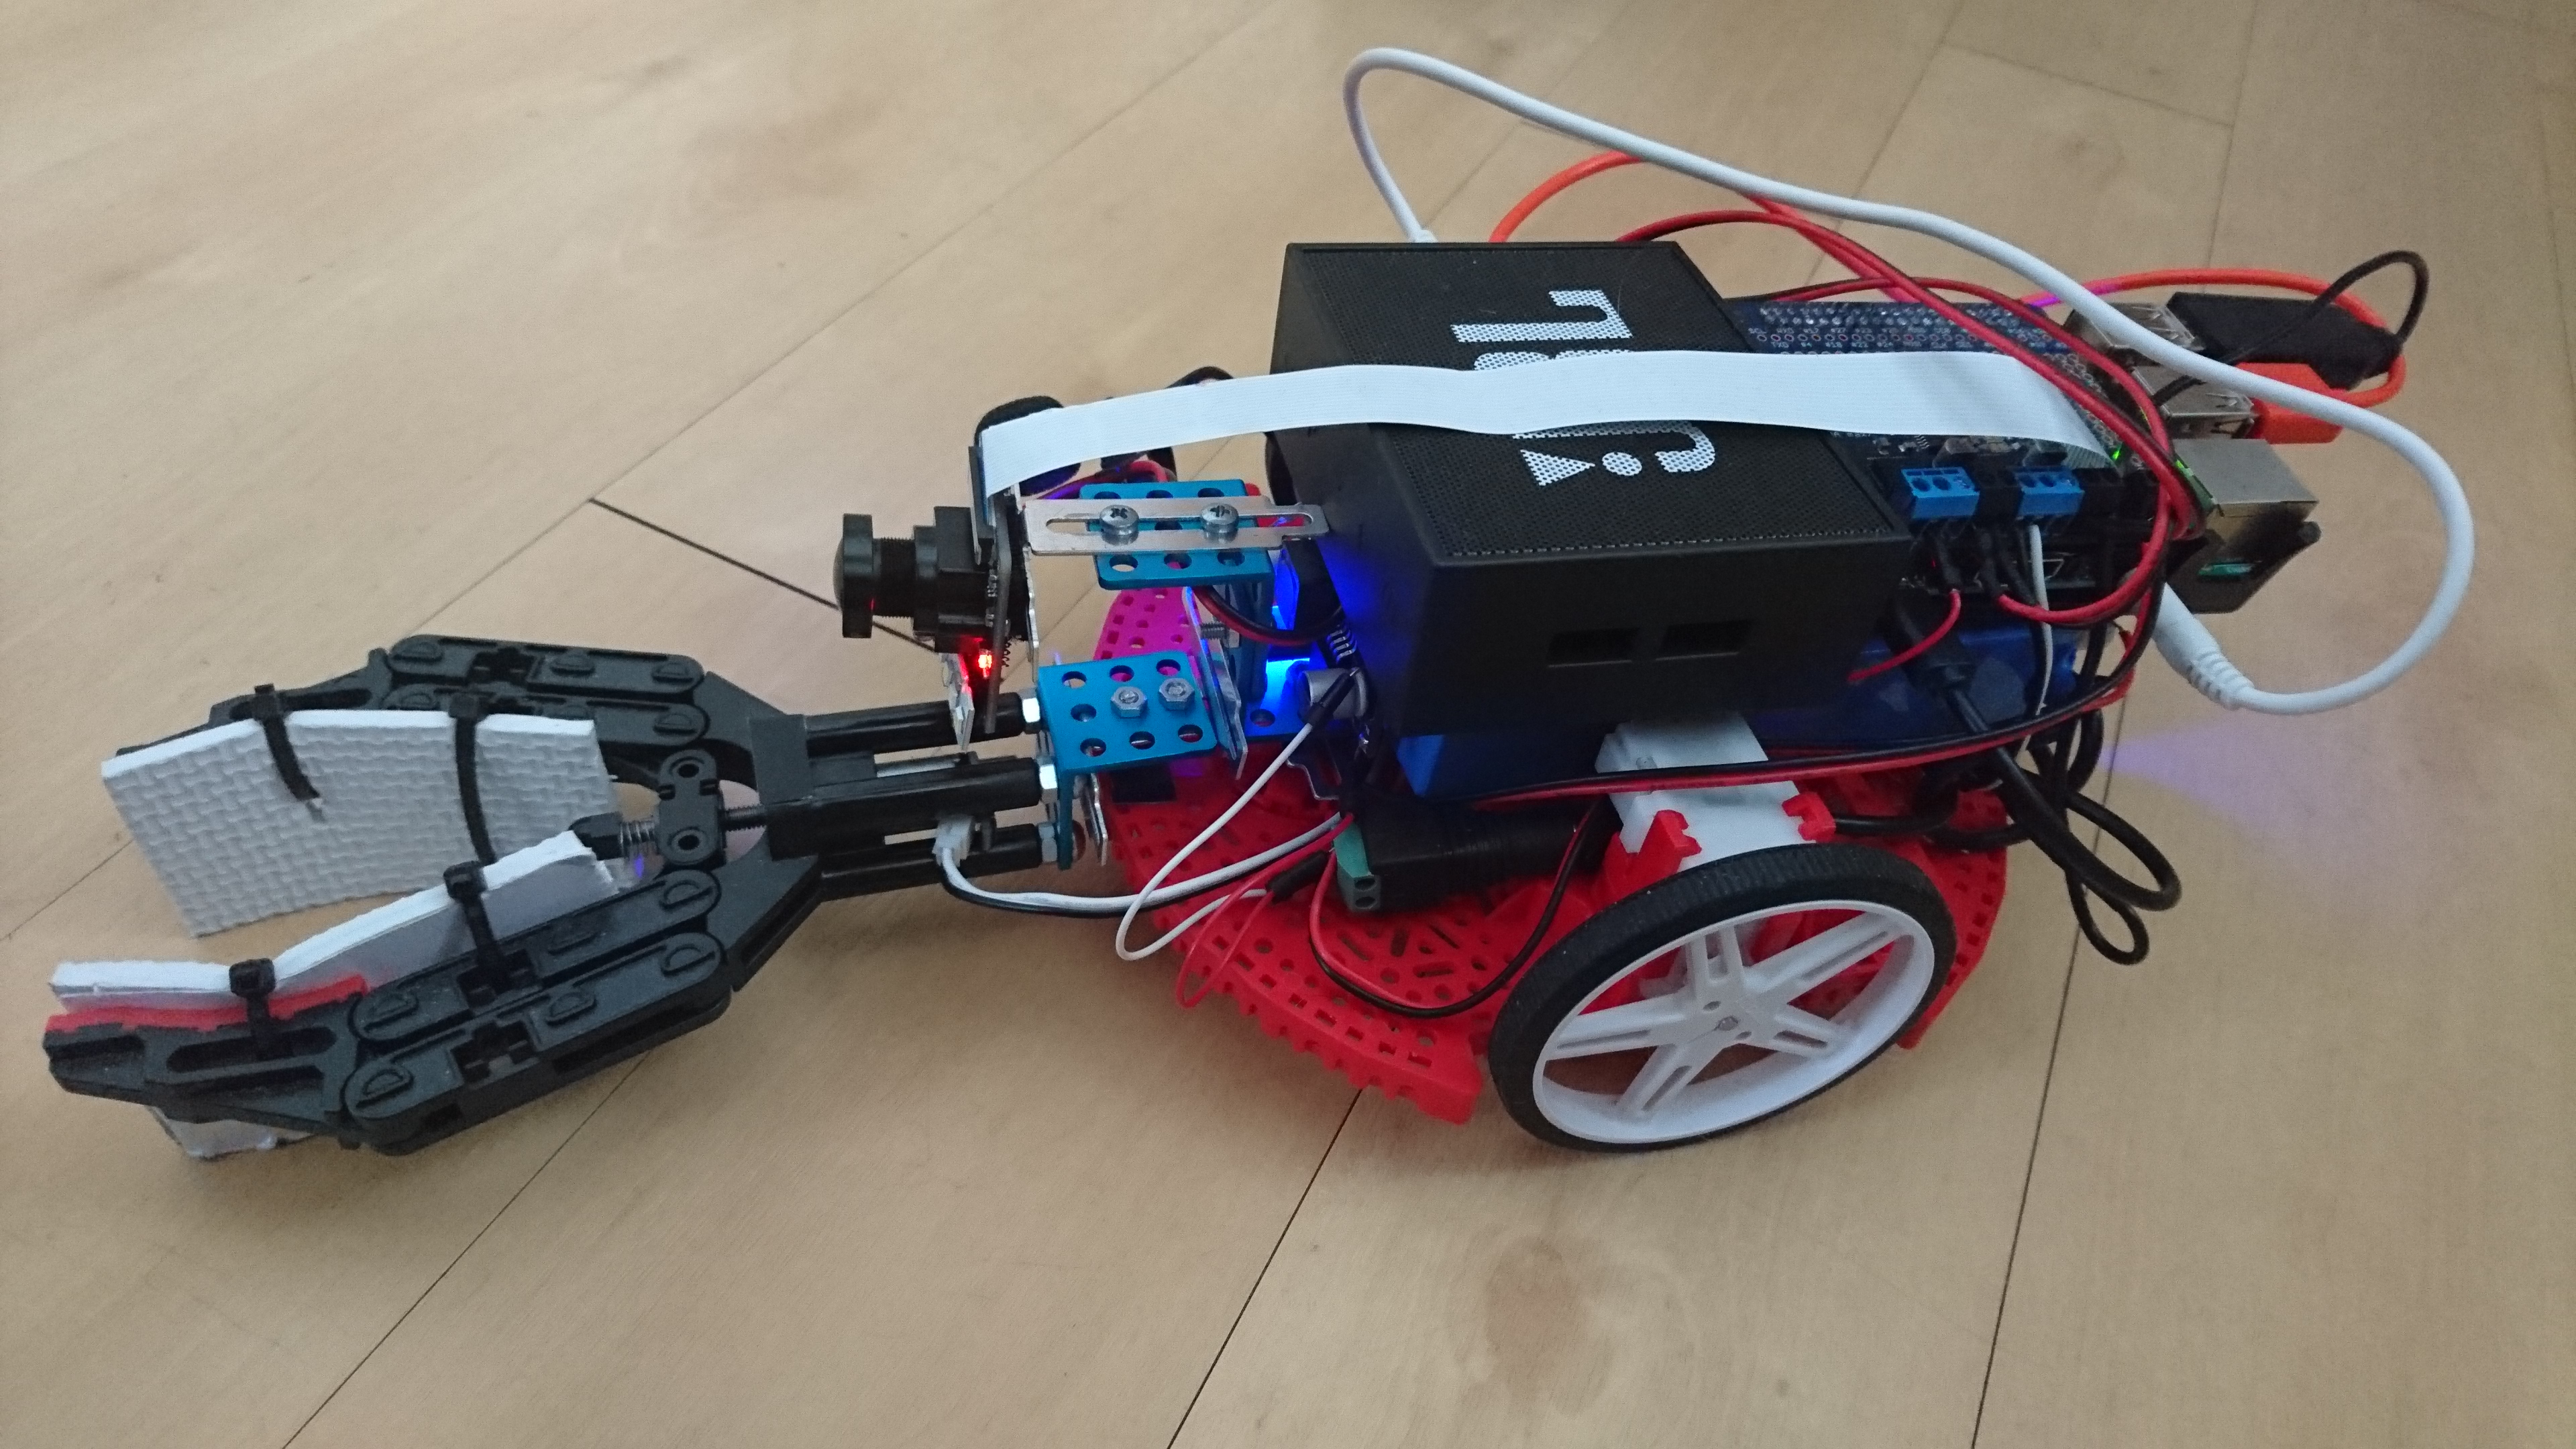
Once I got my 3D Printer working and had it dialed in, I wanted to do this overdue upgrade. Over time the tape got loose over and over and the motors started sagging so hard, that the cardboard dragged on the ground. This was one of my first designs I created and printed.

These two prints made the bot usable again since it fixed the dragging body as well as stopped the Camera head from constantly falling down.


Assembling the Anet A8

Initially I ordered the Anet A8 on Banggood, but it got stopped by the customs office. It did not meet the necessary conditions for import and got sent back to china. It took me 2 weeks to get my money back as well… That was not really a good experience.

The second time i ordered it from ebay – that arrived in just 3 days. All the security upgrades I planned before first use arrived long before that since I waited on the first ordered for quite some time already.

Even before I started up the printer the first time I already upgraded the power supply and added a mosfet for the heatbed. That should rule out the major risks that come with using this cheap chinese knock off.

Sparky rewamp (V2)

I had a few issues with the current way Sparky was built. Mainly the the fact that the power bank did nearly not fit and had the motor axis sometimes grind against the hull of the power bank. That is obviously quite a flaw – especially since that also impaired Spary’s movement sometimes. I decided I wanted to get a fixed battery pack, inspired by other creators in the LetsRobot community.

And while I were at it, I wanted to have a better speaker setup.

Here a before/after comparison:

It should be quite obvious that the new revision is now more pleasant to look at. Also the big speaker block could be fit behind the camera and centered, which also improved driving straight. The gripper got the pads to reach all the way to the floor. (I later trimmed the front edges of those so they wouldn’t get caught up on ledges as often) The battery has been replaced with a Li-Ion pack that outputs 12V. With this addition I used two step down converters, but gained the ability to have components that required over 5V – also charging and switching the robot off got way easier.

Here a gallery with more angles and steps.

Cardbot V2

Alongside Sparky’s upgrade I thought I want to iterate with what I learned so far on cardbot as well. I made a few changes already. The biggest one being the Tilt head I implemented for a time.

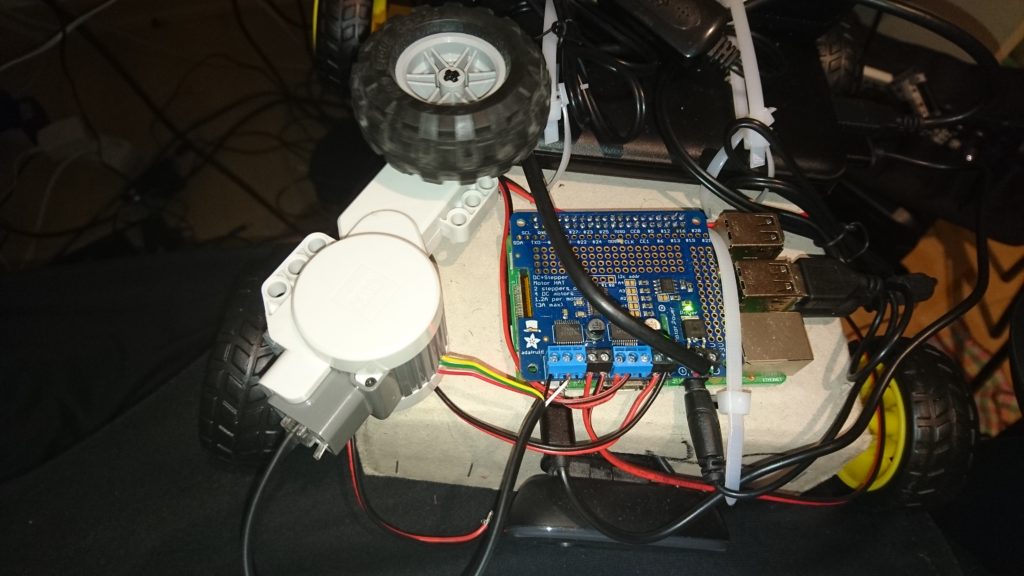
For that I first tested an old Mindstorms LEGO motor that I had lying around.

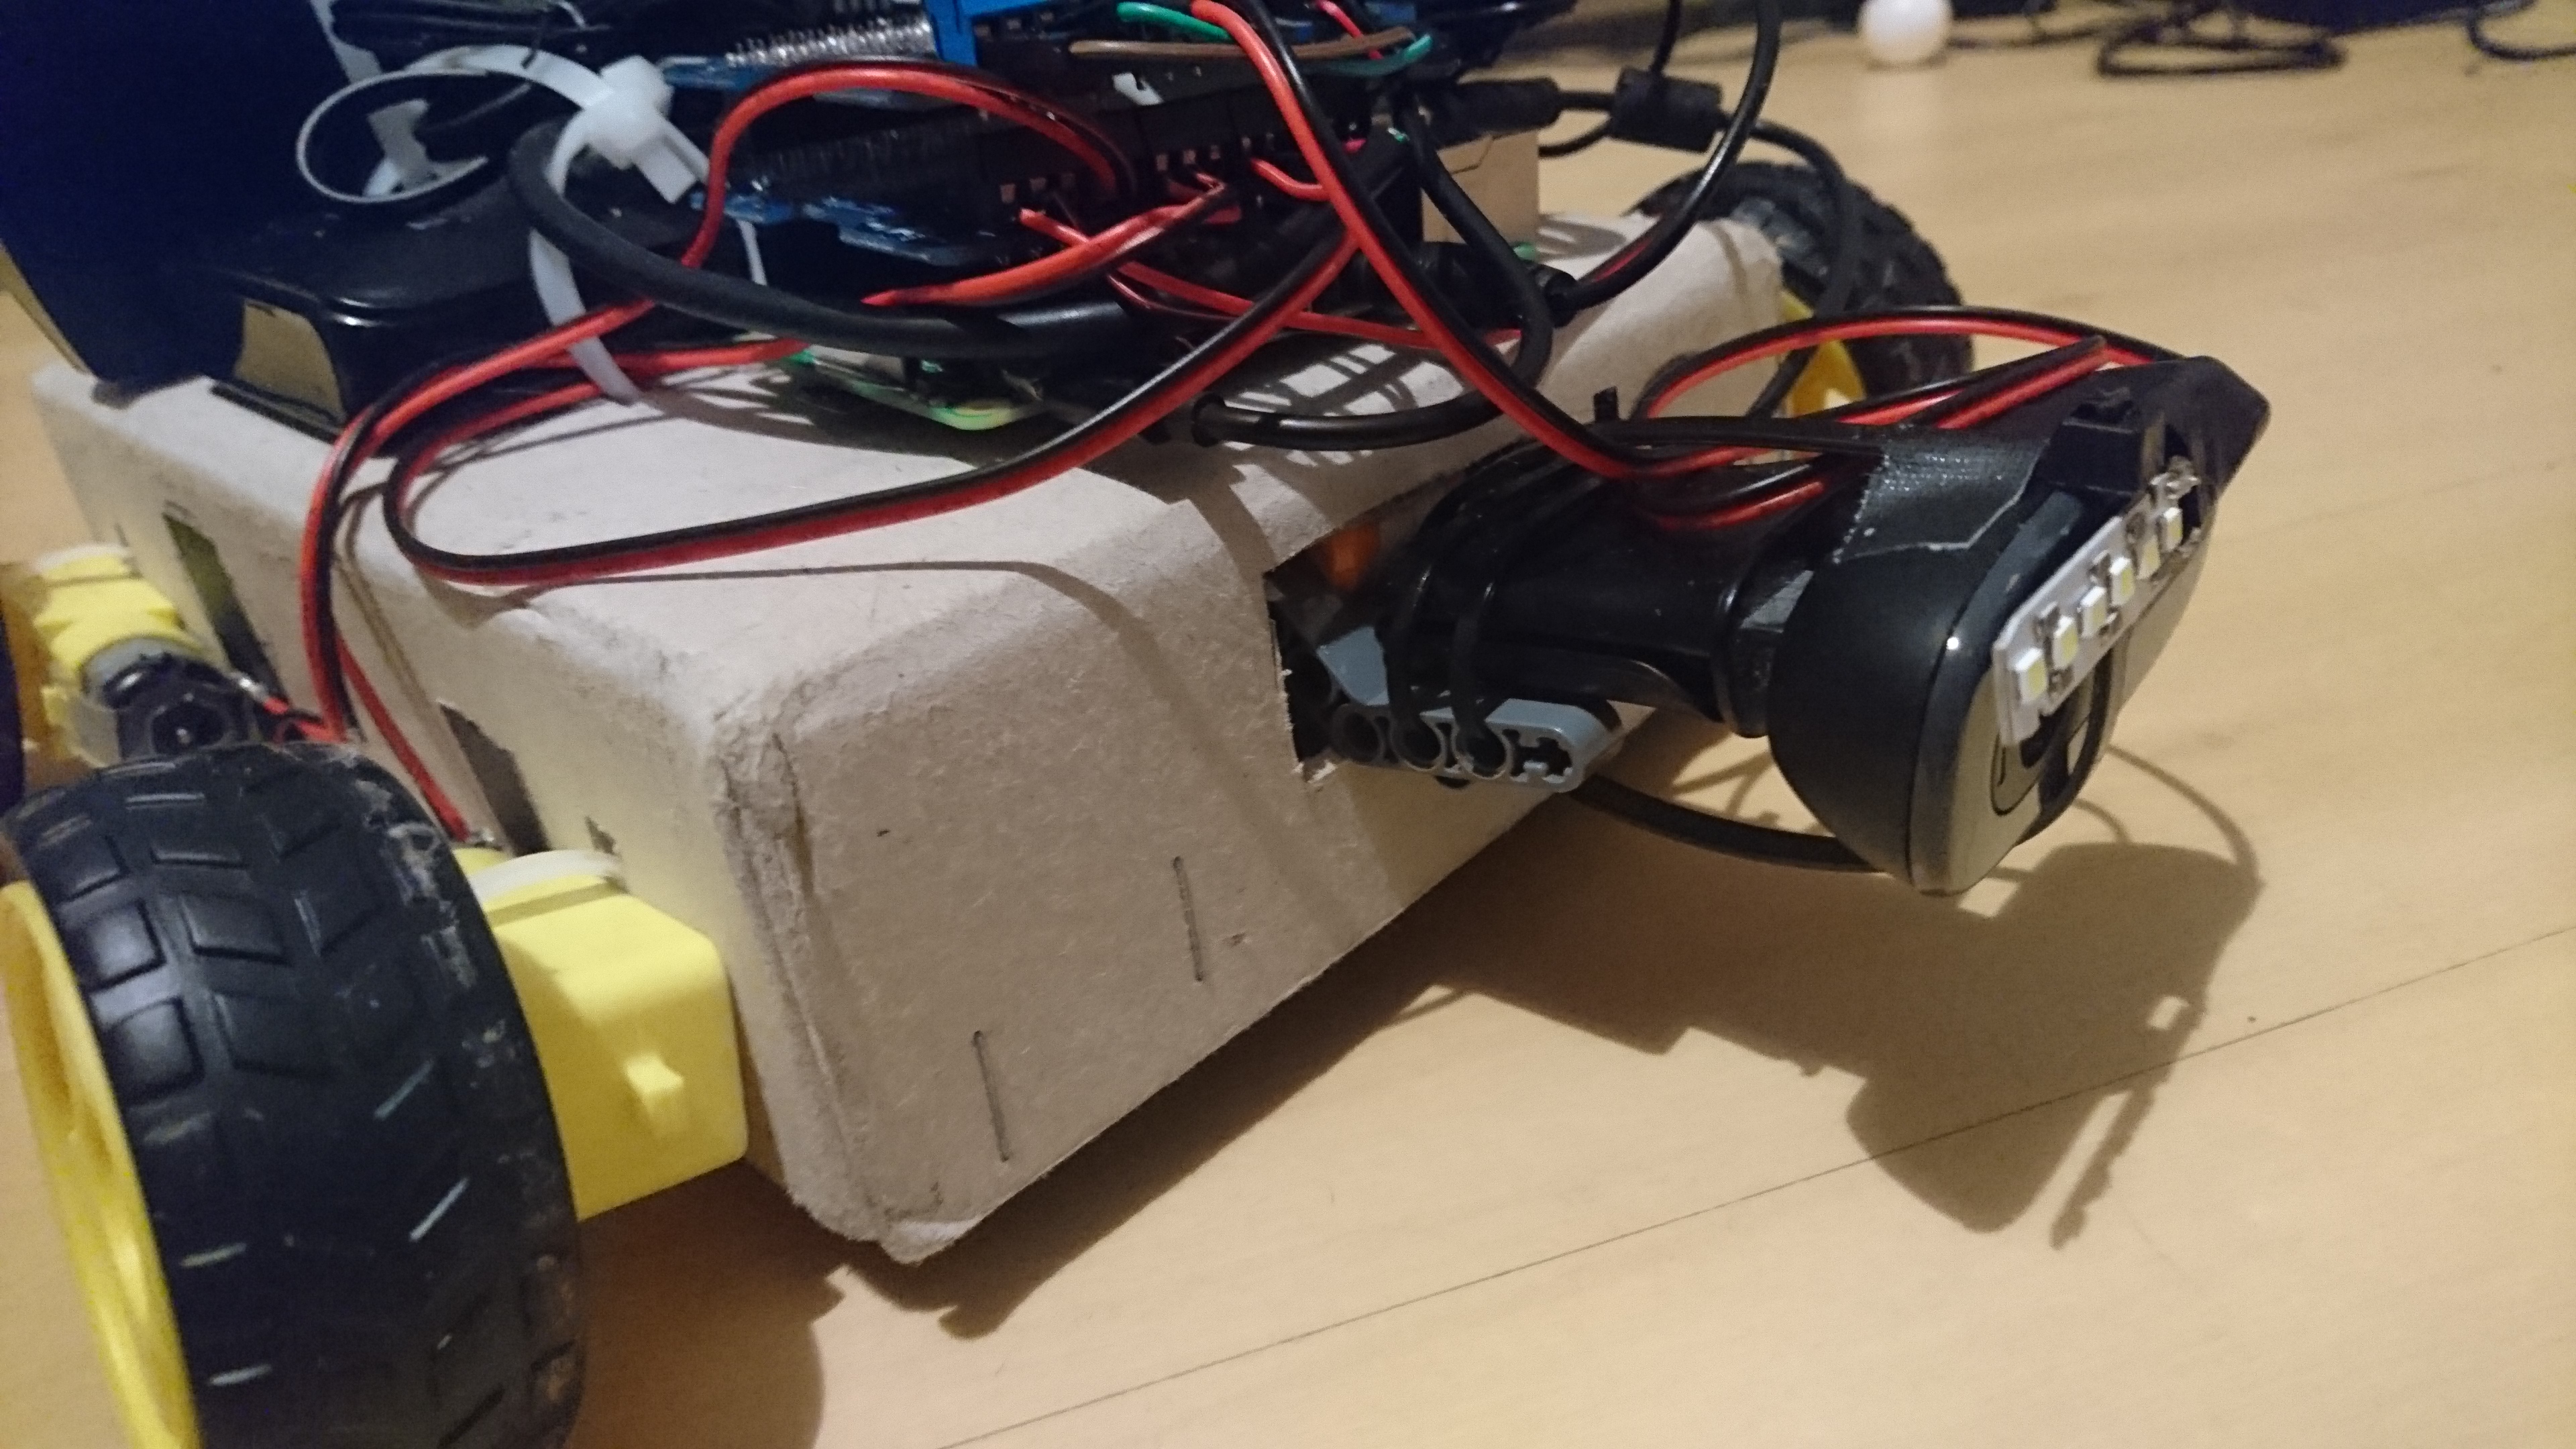
And once I confirmed that it worked, I strapped it below the cardboard cover and expanded the hole for the camera in the front. The result was a camera with the ability to look up on command. (since that is a simple DC motor I limited that to a “look up” function that lasted around a second) bundled with the LED I strapped on the Webcam, this improved the field of vision of Cardbot immensely.

Also note on this picture: I needed to add a second Motorhat so it could run the LED + LEGO DC Motor. Luckily those hats are stackable up to 64 in theory because they’re based on l2c.

But this didn’t last long. I wanted to improve it even more. What bothered me the most was that Cardbot didn’t have a gripper like Sparky did already. So I gave Cardbot a whole rework.

First I had to change the Headlight wiring, since I wanted to control that with a pin of the RasPi. That way I wouldn’t need a second motorhat solely for the LED which would be obviously overkill. So I wired in a transistor to feed the power source seperately from the RasPi pin to protect that.

This time I added a Pan/Tilt head for the camera and added the gripper seen in the pictures. For the gripper I needed to make space since it is designed to get pulled by the actuator rod and as a solution I put everything a bit higher up. This way I could also create my own screw holes since the material I used is soft plastic. So I just used the hobbyist knife to carve out screwholes.

And I had to switch to a normal RasPi camera module to be able to move it around like that. while it worked like a charm, I soon noticed that the ziptie and tape mounts on this bot are not the best solution…

Catapult for Sparky

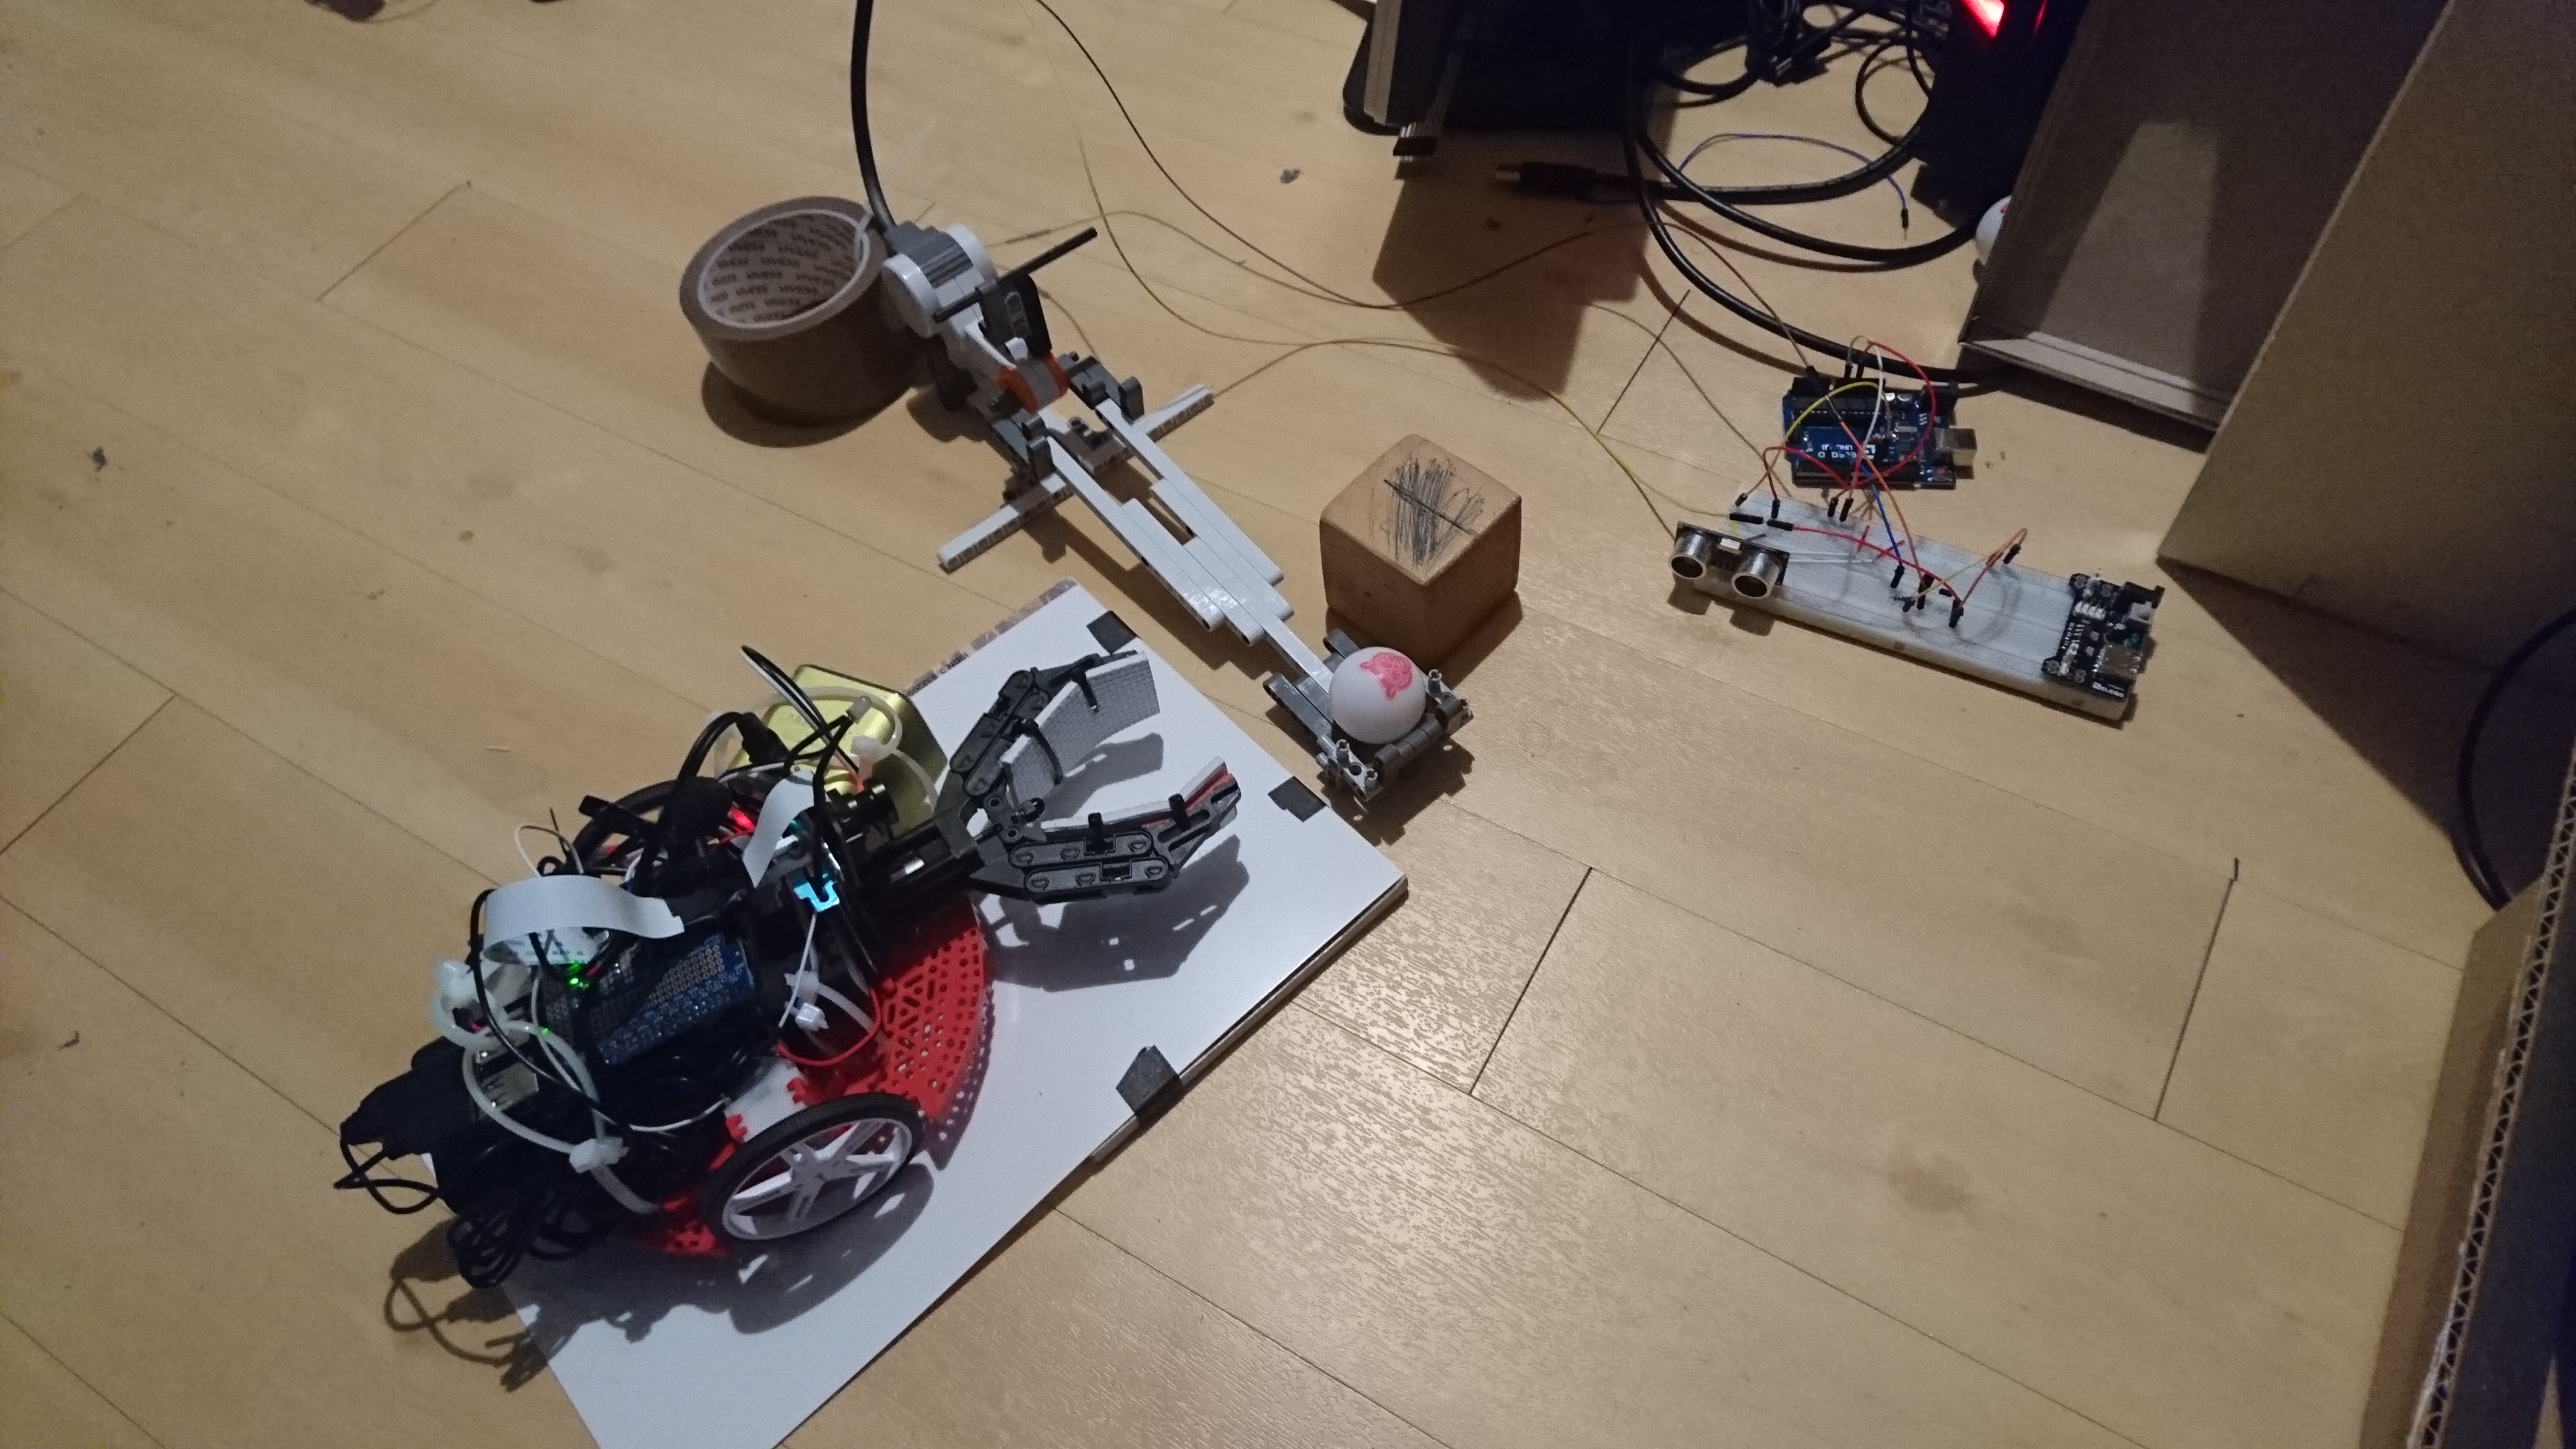
In effort to make interactive “Toys” for my robots I created with a catapult built for my LEGO Mindstorms robot back in the day.

I used a LEGO DC motor with the cable I prepared for Cardbot initially, and used a role of tape to weight down the base of the contraption. On the Breadboard I used an ultrasonic distance sensor to enable the robot to shoot the catapult. The logic is handled by the arduino and the simple H bridge to power the DC motor externally to protect the arduino.

Here a small video of it in action:

Sparky

Cardbot felt quite lonely, so I wanted to create a little sibling for him. 🙂 Jokes aside I thought it would be cool to iterate on the single robot on have a second one so they can interact with eachother.

And this time I wanted to opt for a more compact design for better mobility and also add a gripper. I also ordered a fisheye lens for my Raspberry Pi for a bigger viewing angle.

The little headlight LED I added reminded me of an Anglerfish as well – I thought it was cute. But it is actually really useful to navigate the bot in the dark, with the added bonus to be able to turn it off. All in all this bot has better suited components than Cardbot and is more well rounded (pun may or not be intended).

Cardbot

My first robot! I were pretty excited to have all the parts gathered and be able to build it. I went for a balance of cheap and easy parts, which is why it ended up being on a cardboard box/bowl.

The whole design is based of ziptying everything on the box and then connecting the cables. I checked beforehand how long the cables should be ideally and cut them to size.