Alongside Sparky’s upgrade I thought I want to iterate with what I learned so far on cardbot as well. I made a few changes already. The biggest one being the Tilt head I implemented for a time.
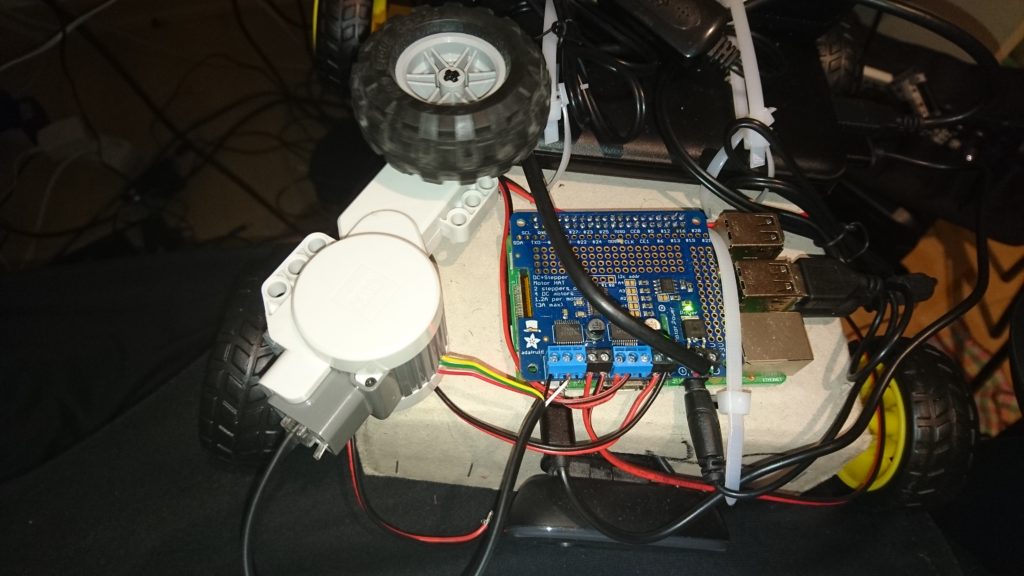
For that I first tested an old Mindstorms LEGO motor that I had lying around.

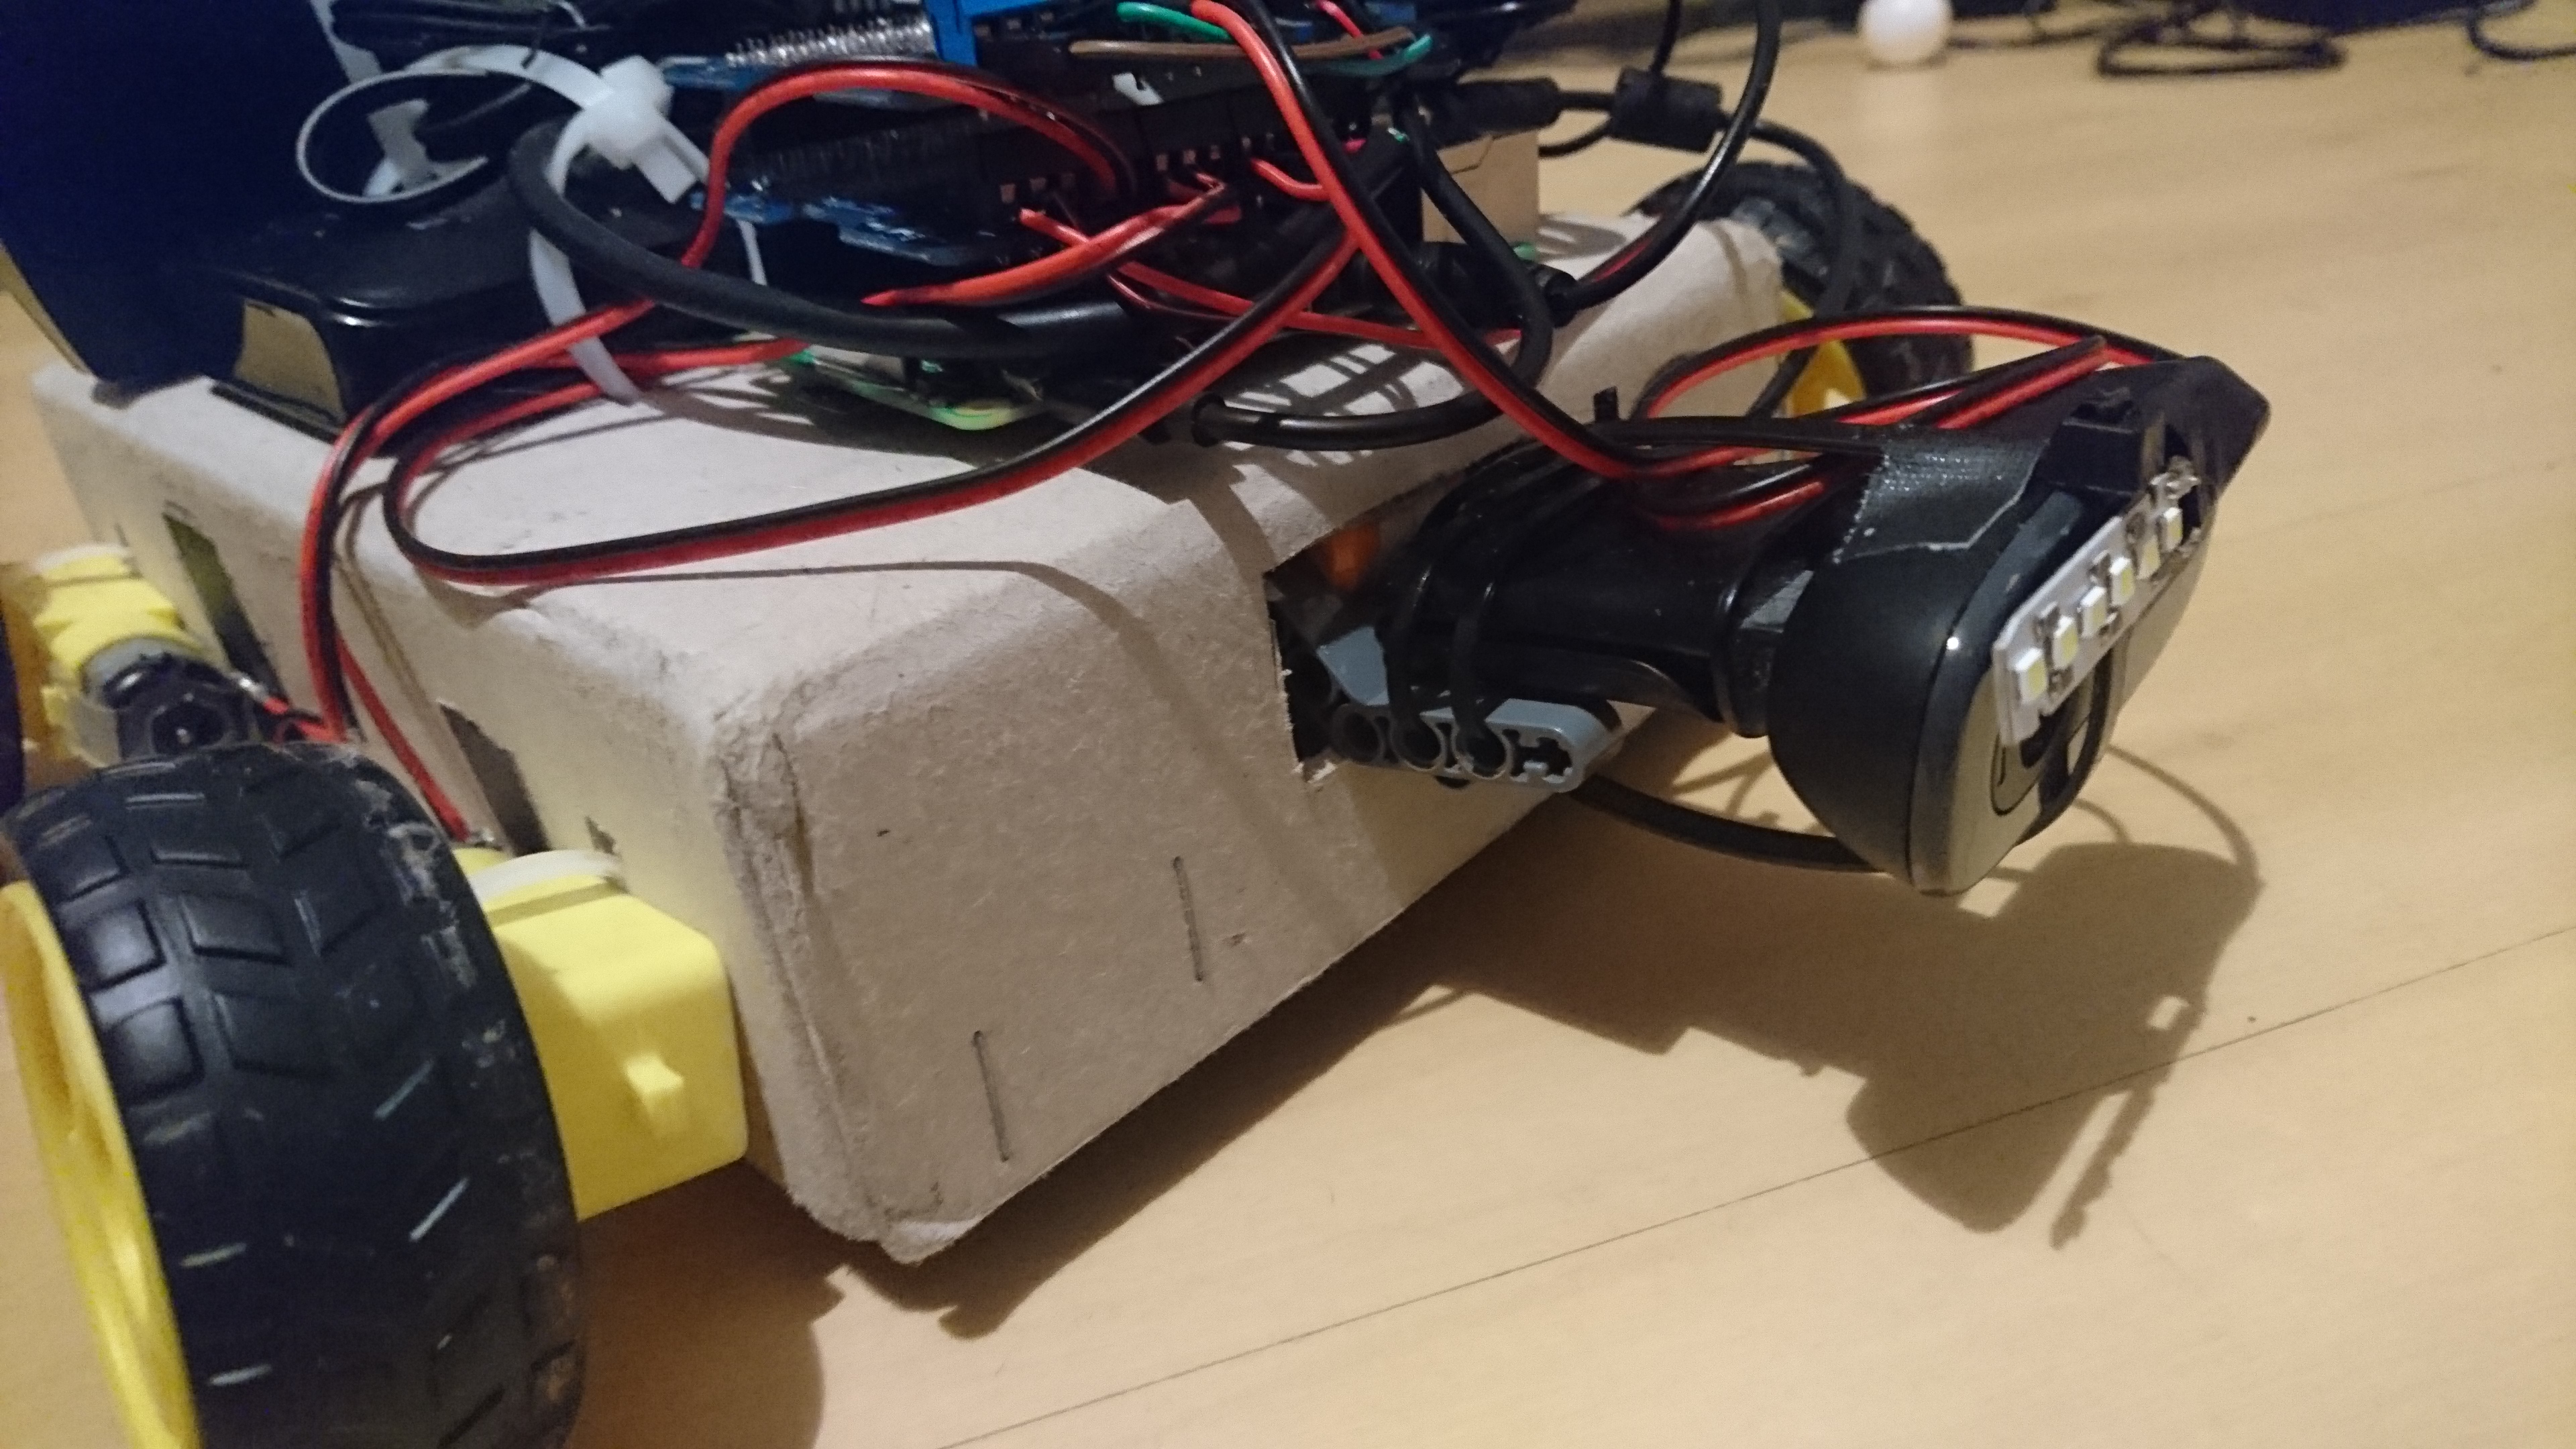
And once I confirmed that it worked, I strapped it below the cardboard cover and expanded the hole for the camera in the front. The result was a camera with the ability to look up on command. (since that is a simple DC motor I limited that to a “look up” function that lasted around a second) bundled with the LED I strapped on the Webcam, this improved the field of vision of Cardbot immensely.
Also note on this picture: I needed to add a second Motorhat so it could run the LED + LEGO DC Motor. Luckily those hats are stackable up to 64 in theory because they’re based on l2c.

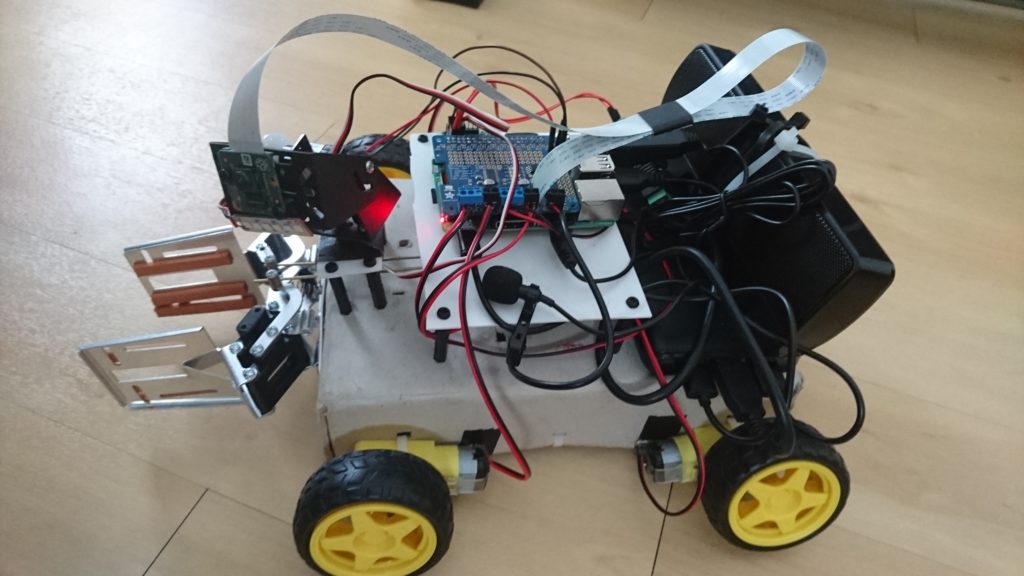
But this didn’t last long. I wanted to improve it even more. What bothered me the most was that Cardbot didn’t have a gripper like Sparky did already. So I gave Cardbot a whole rework.
First I had to change the Headlight wiring, since I wanted to control that with a pin of the RasPi. That way I wouldn’t need a second motorhat solely for the LED which would be obviously overkill. So I wired in a transistor to feed the power source seperately from the RasPi pin to protect that.
This time I added a Pan/Tilt head for the camera and added the gripper seen in the pictures. For the gripper I needed to make space since it is designed to get pulled by the actuator rod and as a solution I put everything a bit higher up. This way I could also create my own screw holes since the material I used is soft plastic. So I just used the hobbyist knife to carve out screwholes.
And I had to switch to a normal RasPi camera module to be able to move it around like that. while it worked like a charm, I soon noticed that the ziptie and tape mounts on this bot are not the best solution…


